Pyracanthas are grown in a couple of ways. They are usually grown as hedges, shrubs, or trained neatly along walls.
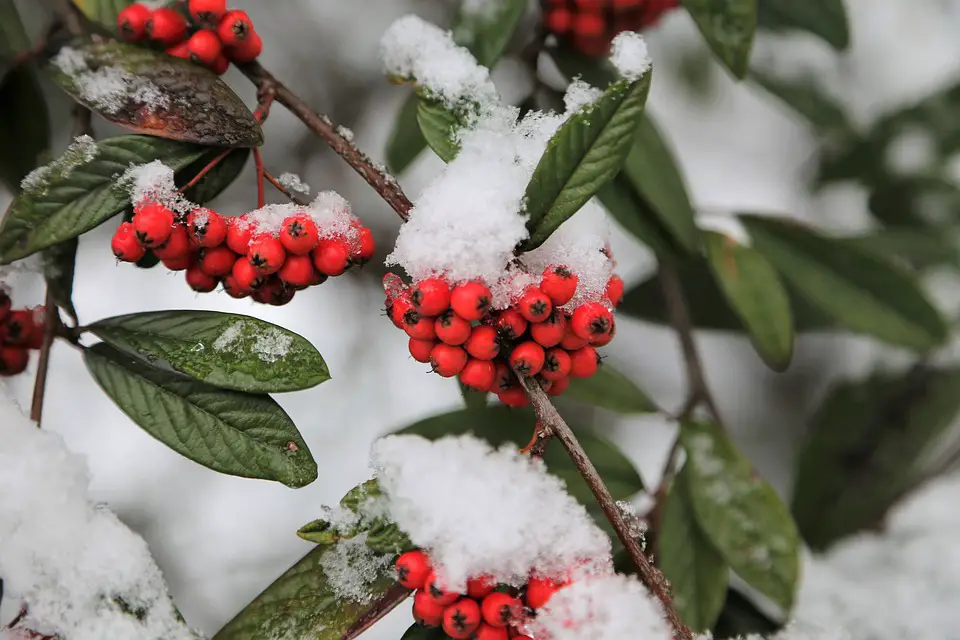
Pyracantha gets its main colour from the bright orange or red berries it produces in the autumn and is also known as the Firethorn. However, you will also be rewarded with white flowers in the spring time.
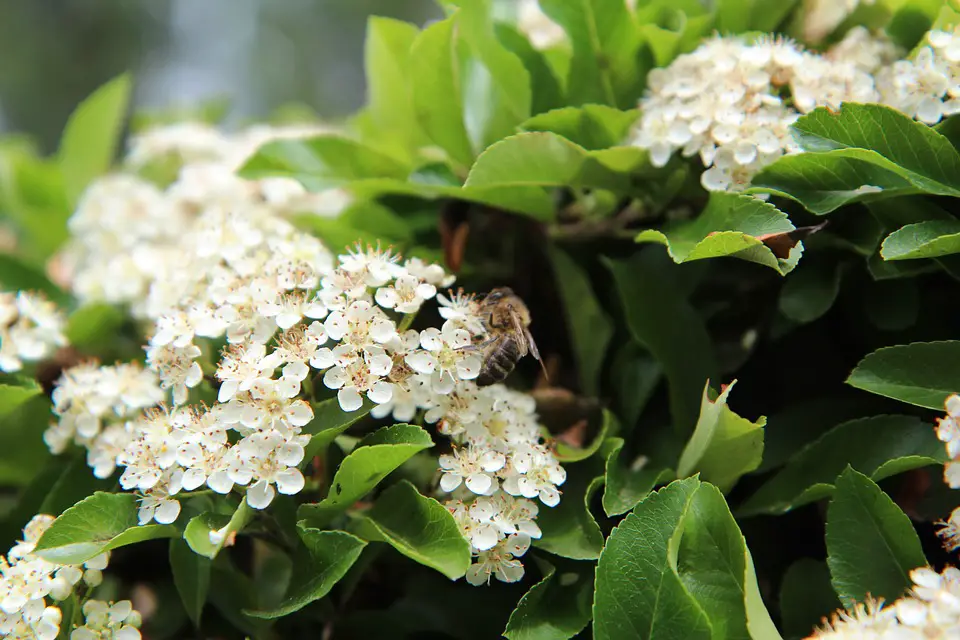
The plants botanical name Pyracantha means the exact same thing as its common name, Firethorn. The word ‘Pyra’ meaning fire (referring back to its bright orange berries); and the word ‘Cantha’ which means thorn.
Characteristics & Requirements
Plant type?
Shrub
Lifespan
Perennial
Sunlight
Full sun to partial sun
Soil
Chalky, Clay, Sandy, Alkaline, Neutral
Hardiness
The Pyracantha is a particularly hardy plant, it will go in most soil and is drought tolerant.
The Pyracantha is an evergreen shrub which grows fairly quick in full sun, with lots of thorns along the stems. Make sure to wear thick gloves and even a long sleeved top when pruning because in my opinion it’s more prickly than the rose, which makes sense because the Pyracantha is actually in the rose family.
How to prune a Pyracantha
This shrub is very hardy. When it comes to pruning the Pyracantha, or the ‘Fire Thorn’ as you may know it, you want to look at what shape it’s in or what it’s being used for.
If it’s being used for added security i.e. blocking the side of a house, or its simply a shrub in the garden that’s gotten too big then i suggest using the following tools.
- Pruning Shears
- Loppers
- Pruning Saw
- Secateurs
Once the shrub is too big, make sure you do the heavy pruning in the late winter, or at the latest very early spring; basically before the new growth begins. You can get away with cutting the shrub to even a few feet from the ground, eventually the Pyracantha should recover with dense and healthy growth. I’ve gotten away with cutting these down to next to nothing and they’ve still always grown back.
If it doesn’t need a massive cut back, you can use shears or even a hedge cutter to get your desired shape without taking too much off.
When it comes to pruning a Pyracantha thats being trained along a wall, you won’t need to do any of the hard pruning in the winter, you will just need to arm yourself with secateurs twice a year or so and go along nipping off any straggly bits – maintaining its shape, this gives it a nice tailored look.
How to train a Pyracantha along a wall
If you’ve got a wall in front of your house that’s a bit of an eyesore, or a space under your window that you’d like to spruce up a bit then a Pyracantha can be the perfect choice for you. Giving you a nice tailored look and some colour in both spring and winter.
Pyracantha is quite tough so you don’t need any special soil or much prep, just find a space near the wall you want and plant it. I’d recommend using a cutting or just a small one from straight from the shop. Here’s what else you need.
Things you will need


Next Steps..
Once you have planted the baby Pyracantha, a little bit of patience is required. So, while were waiting for it to grow, lets set the foundations!
As the Pyracantha grows taller, so will the shoots coming out of either side of the main stem, these shoots are the ones we will be training.
- First, find the desired height where you want your first line to be, where you want the first line of the Pyracantha to grow along. Once you’ve established where you want it to grow, grab the drill.
- Drill the holes, for presentation I’d drill the holes about 2 feet apart along the same line, this is where the vine eyes are going to go.
- Put the brown fixings into each of the holes, gently tap them in.
- Screw in the vine eyes.
- Put the garden wire through the first vine eye, continue putting the wire through each vine eye until you get to the end one, wrap it round and snip off the remainding wire. Now you have your line.
- Count 3 or 4 bricks up and repeat steps 2-5 so now you have two identical lines parallel to each other.
Now we have the foundations in place all we need to do now is wait. The first shoots coming out of the main stem you will train along the first line you made, as the Pyracantha grows up 3 more bricks and approaches the second wire you put in; you then train these side shoots to grow along this line. Take care in keeping the main centre stem intact.
Eventually each shoot will thicken up and will look nice and tailored to the wall, you can go as high up as you like, for presentation I try and keep the same amount of bricks between each line.
Next, I will show you how to repair a part of dead/diseased Pyracantha I tried to fix the other day.
How to re-train dead Pyracantha
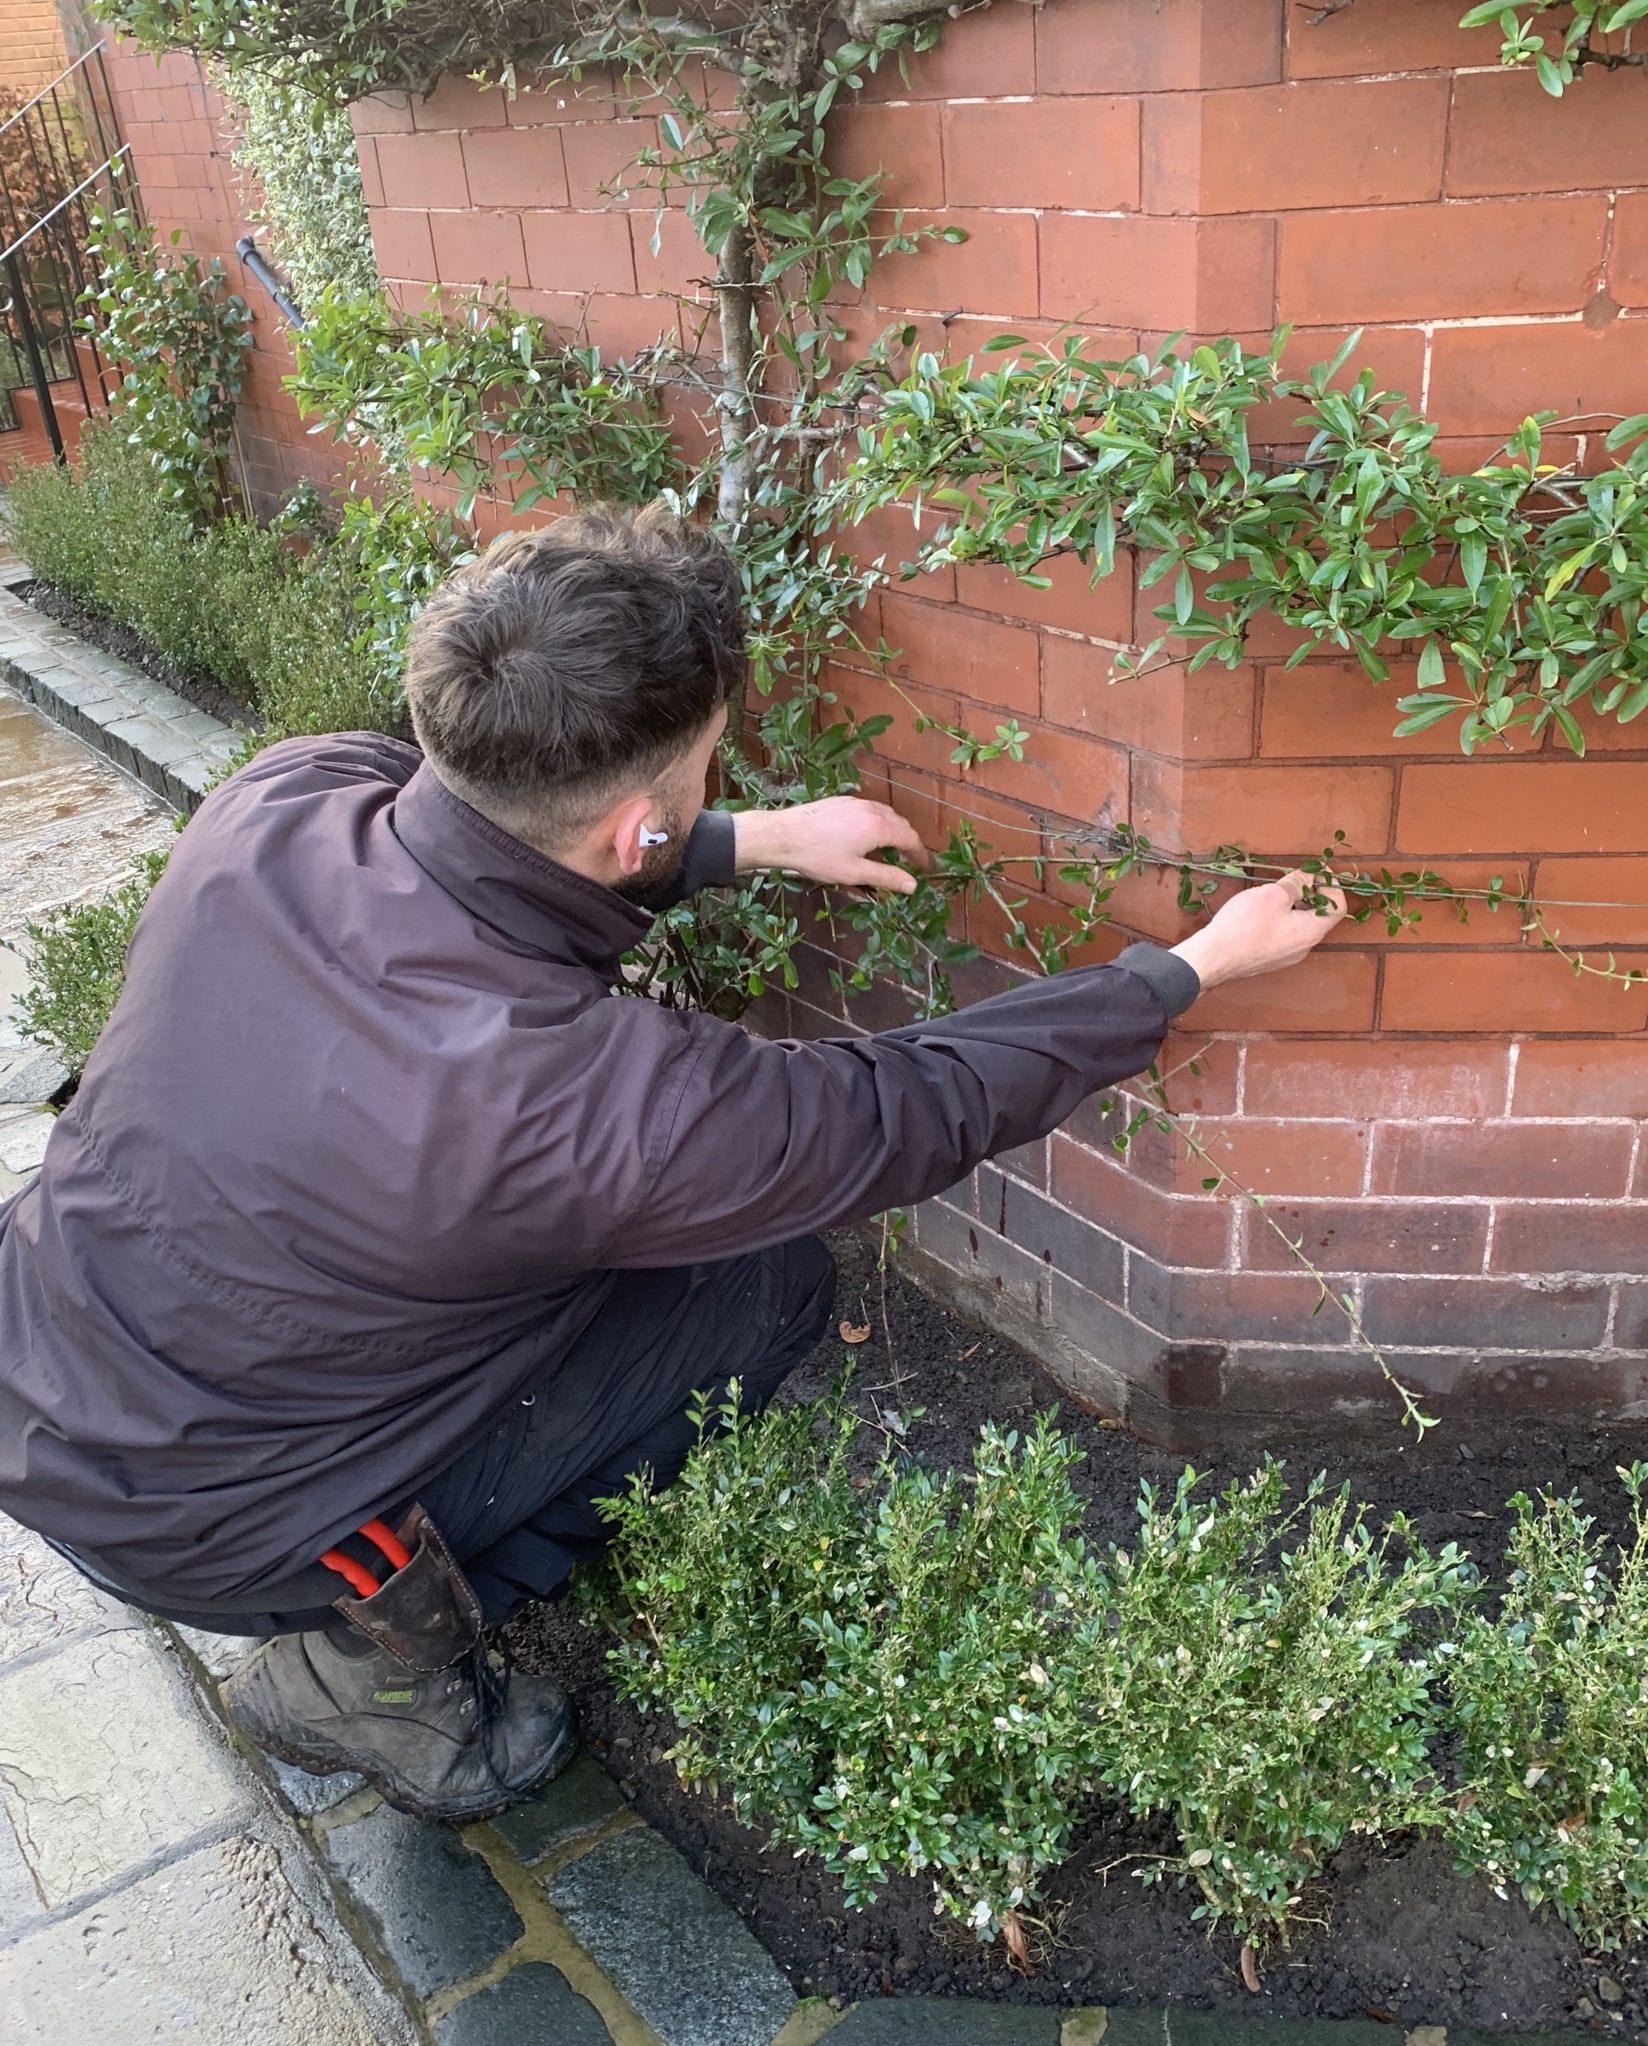
This house has 3 rows of Firethorn running below the lounge window, as you can see the bottom row is all dead, i’m going to show you how to recover it.
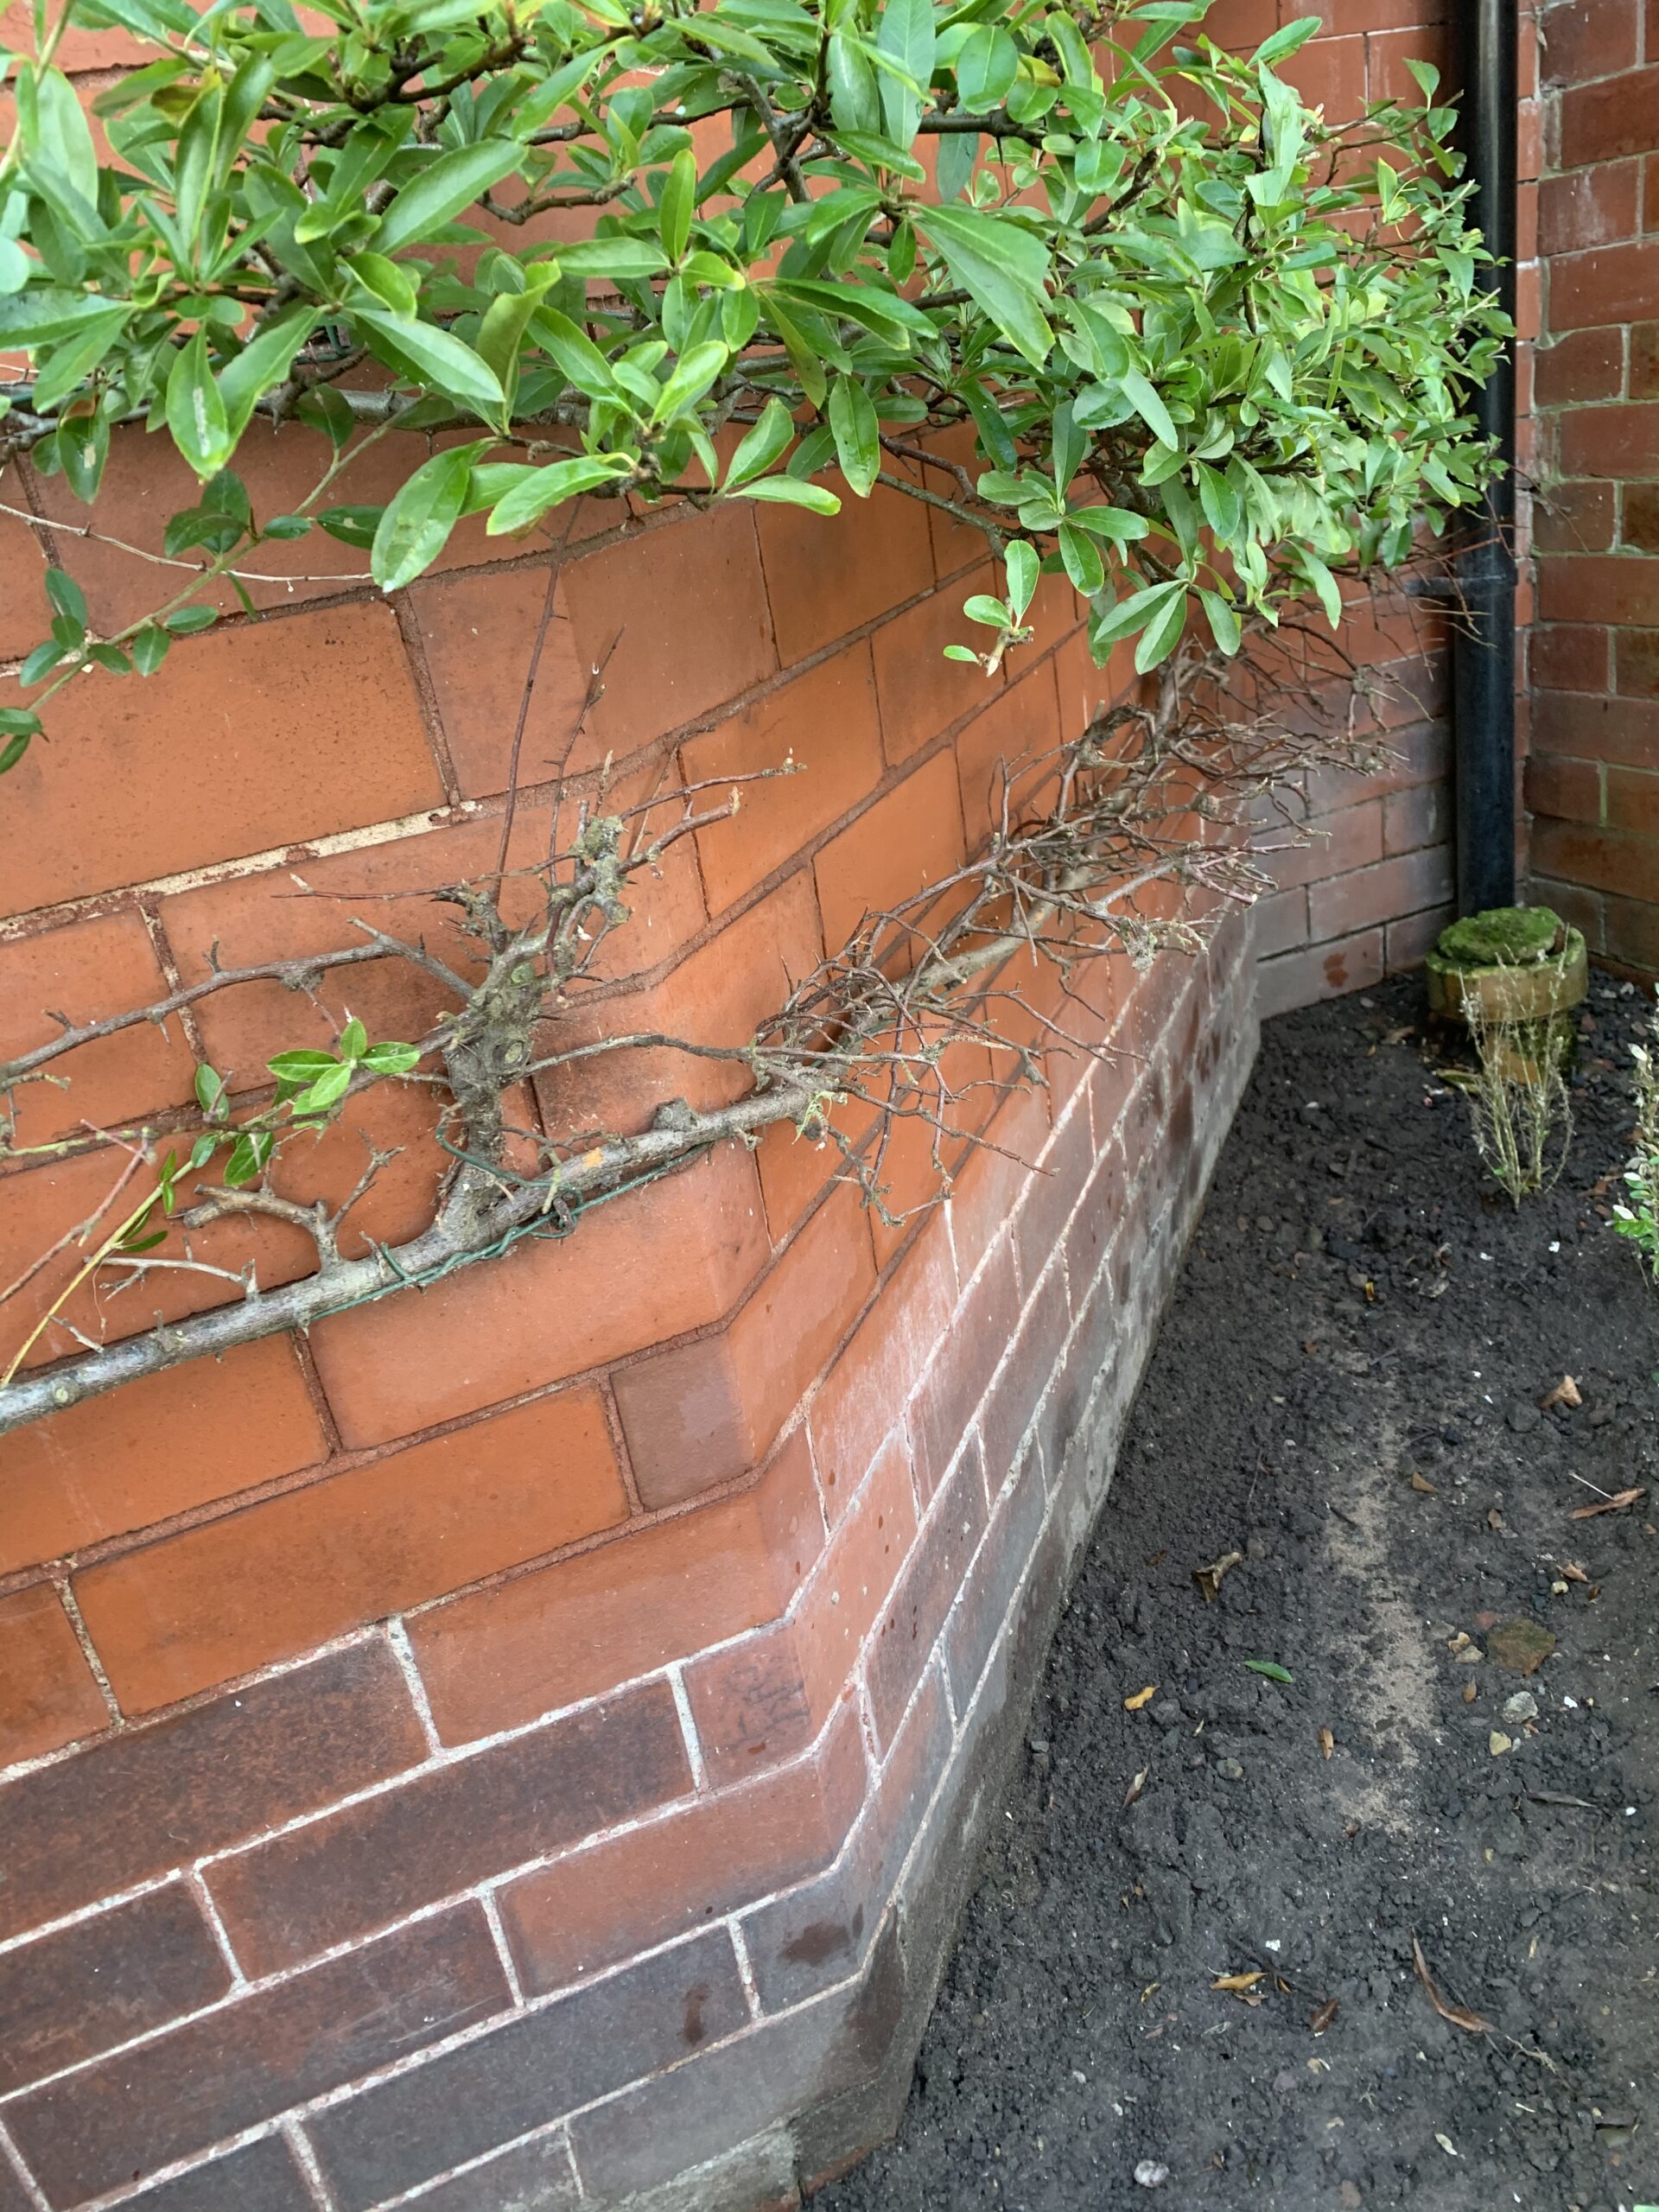
Here, the first thing I did was cut out all the dead stem right back to the main stem.
Looking at the main stem, I found another good shoot that made for a good candidate to replace the old stem.
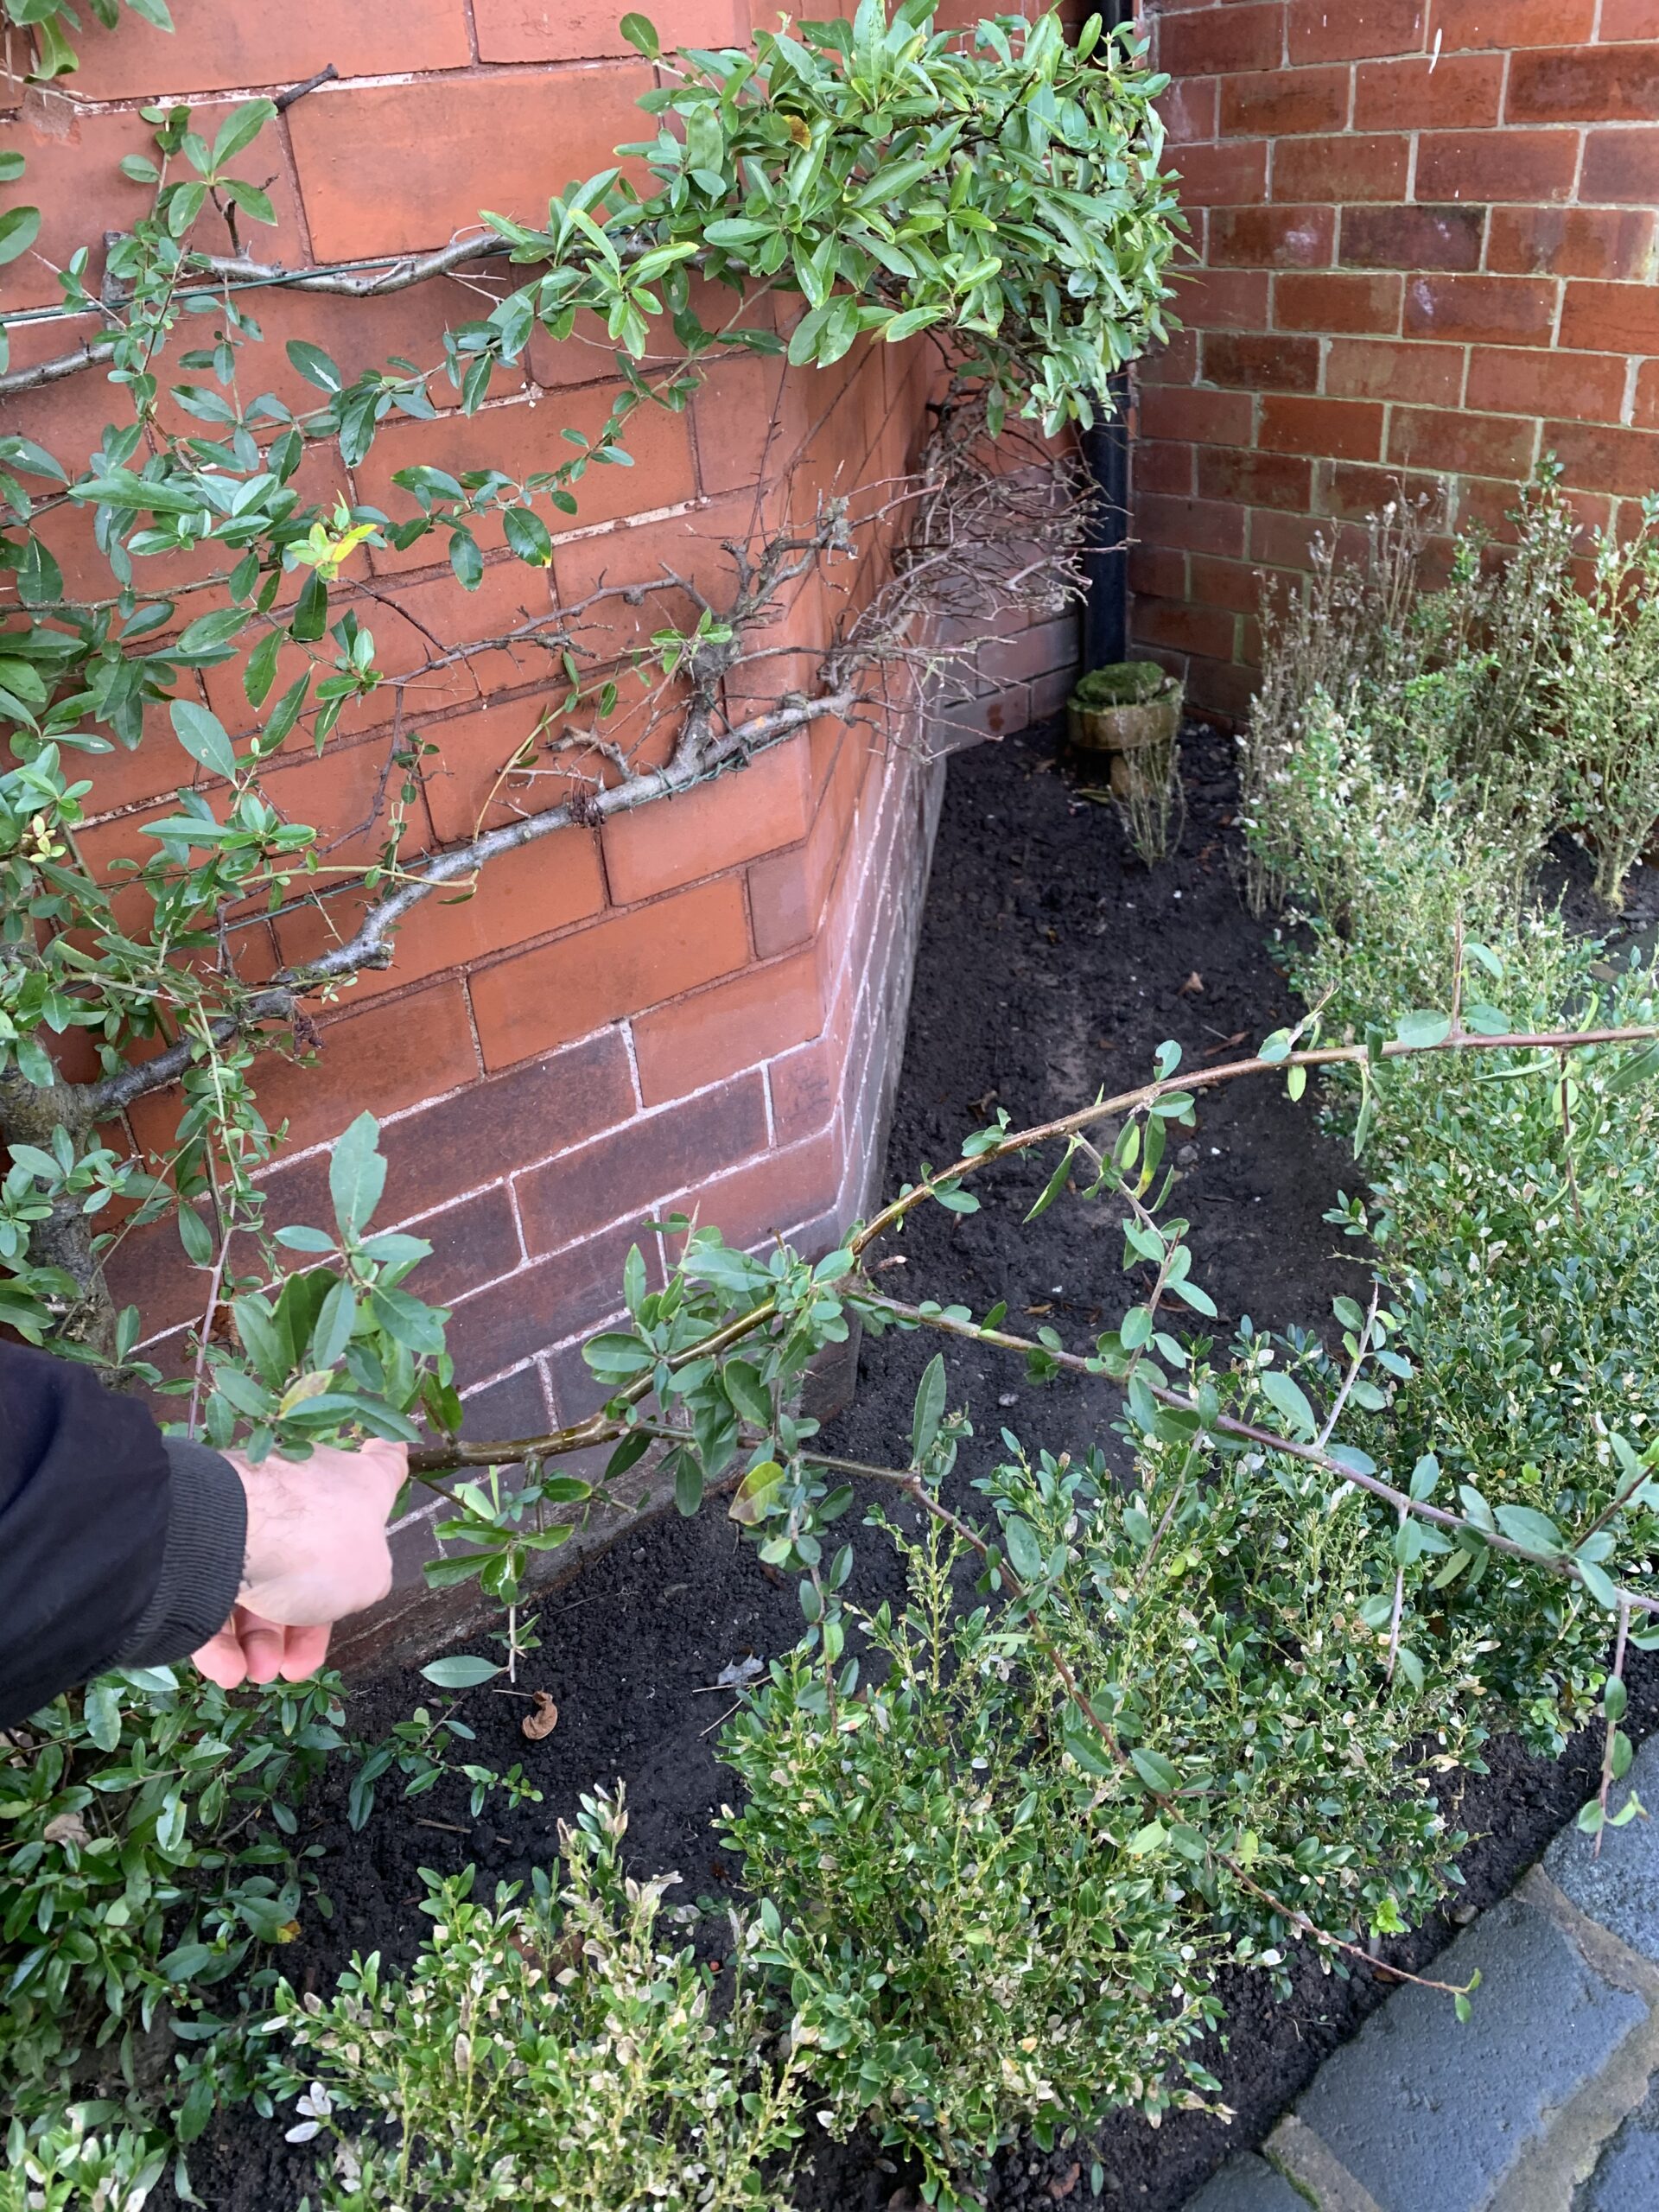
Once I’ve identified the replacement stem and cut out the old wood, I simply cut it to a workable length, cut off any unwanted bits and carefully wrap it around the garden wire that’s already in place.

Below, you see the finished product, it’s nowhere near as good as the two rows above, but give it a year or two and it won’t be far off!

Thanks for visiting MaintainYourGarden.com, we hope you found this article helpful. If you have any questions or would like us to do an article on any other plants or shrubs, send us a message!